

Church © Gina Soden 2013

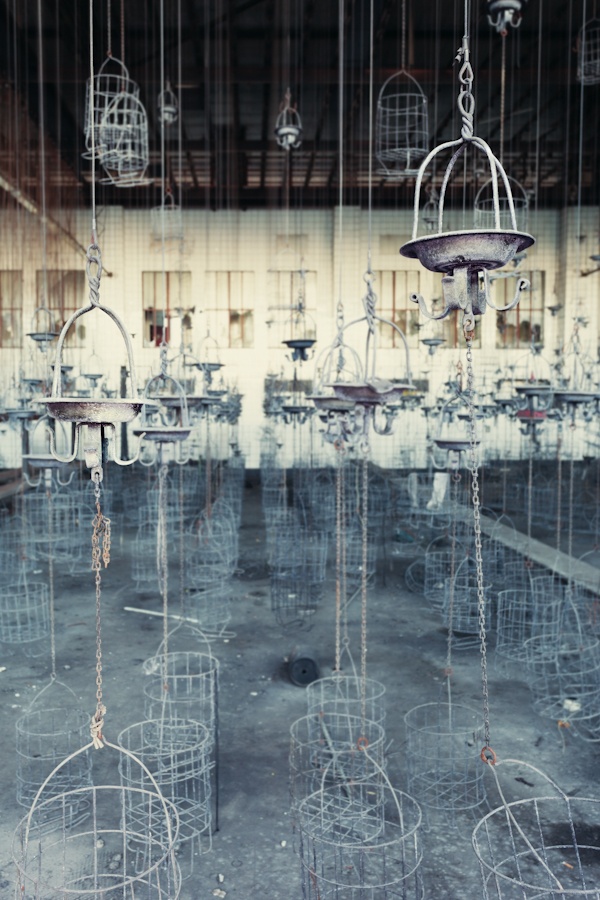
Chemical Factory © Gina Soden 2013

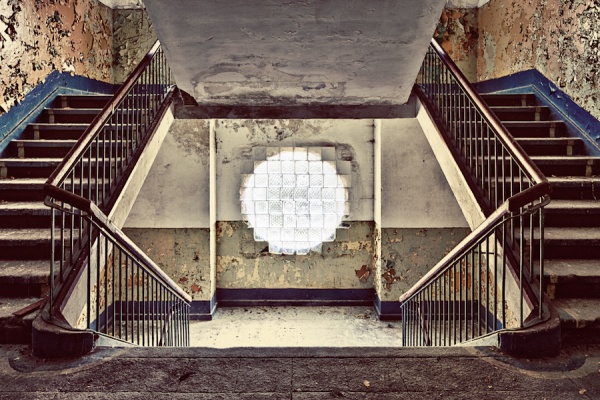
Moss © Gina Soden 2013
Tip 1. Composition, composition, composition. What are you trying to convey in your image? Are you concentrating on a specific point in the scene? If so, lead the viewer towards that or make it a strong focal point. Composition really is key and helps to make a great story. I rely on symmetry in my scenes, the straight lines and symmetrical views make the beautiful decay stand out.
Mine: Changing Rooms © Gina Soden 2012
Tip 2. Shoot 50mm and wider. Experiment with different lenses. 50mm lens are great for picking out details and also emphasising particular parts of the location/subject by using a larger aperture such as f2. These are also great in low light if you don’t have a tripod. Wide angle lens are great for keeping your shots sharp, as depth of field is very large, especially at around f8/f11. Take care though if you angle the camera up or down, as vertical lines start to converge/lean and it creates a warped perspective. This can add a whole new mood to the image though, emphasising scale. To avoid this I use a tilt shift lens. A spirit level is really handy.
Tip 3.
Observe and look for the details. Taking your time to physically look through the place will be rewarded. Anything you see that translates well into a visual representation of the wider scene makes a great detail shot. Things such as rusting tools, peeling paint revealing older colours/ wallpaper underneath, historical items covered in cobwebs, bright clashing colours and mouldy items all make for great shots. Pick out those details and use light to your advantage, such as light rays spilling in the room and highlighting the detail, or backlighting it.

The Slab © Gina Soden 2012
Tip 4. Try Exposure Bracketing. Sheds and derelict buildings often have dark corners and bright windows which can make taking an accurate exposure impossible. By using exposure bracketing you can capture a wider range of tones across several images which can be combined using various types of software as a HDR image. In post processing you can make the image as realistic or as far fetched as you wish. You can shoot anything from 3 to 11 bracketed exposures. 3 images usually will suffice and you can use exposure bracketing effectively to capture a realistic scene.

L’Ecole © Gina Soden 2012
Soviet Deco © Gina Soden 2013
Tip 5. A tripod; One of the most vital pieces of equipment aside from your camera. Long exposures or HDR shots will require a steady setup, and most of what you may find will probably have dark interiors. It’s also handy if you wish to practice light painting, self portraiture or just generally taking your time with composing images. A torch is also handy for painting with light and illuminating details within a shot. As well as this you could take a head torch to help you setup in poor light conditions, and it keeps your hands free to setup the camera/tripod. Other things to consider; spare batteries (long exposures deplete battery life), baby wipes to keep equipment clean and sturdy boots to avoid anything sharp.


Leave A Comment